Enabling Gzip compression in IIS is a great way to reduce response sizes and improve performance for your web applications. In IIS (Internet Information Services), you can enable it either for static content, dynamic content, or both.
Install Dynamic Content Compression
Install the Dynamic Content Compression Feature (if not already installed).
Open Server Manager → Manage → Add Roles and Features
Navigate to: Server Roles > Web Server (IIS) > Web Server > Performance Features
Check:
- Dynamic Content Compression
- (Static compression is usually installed by default)
Click Next → Install
Enable Compression in IIS Manager
Open IIS Manager
(inetmgr in Run dialog)
In the Connections panel, select your server node (or a specific site if you only want gzip for that site).
Double-click Compression in the middle panel.
In the Actions pane (on the right), check:
- Enable static content compression
- Enable dynamic content compression
Click Apply.
Verify Configuration
goto: %windir%\System32\inetsrv\config\applicationHost.config
Check that under <system.webServer> you have:
<urlCompression doStaticCompression="true" doDynamicCompression="true" dynamicCompressionBeforeCache="true" />And for static/dynamic compression modules:
<modules>
<add name="StaticCompressionModule" type="System.Web.Compression.StaticCompressionModule" />
<add name="DynamicCompressionModule" type="System.Web.Compression.DynamicCompressionModule" />
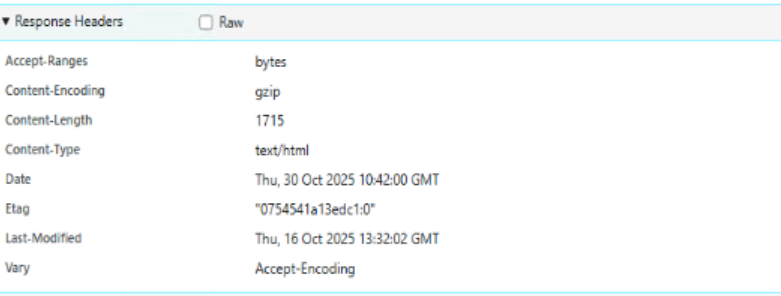
</modules>Test If Gzip Is Working
You can use browser dev tools:
Content-Encoding: gzip